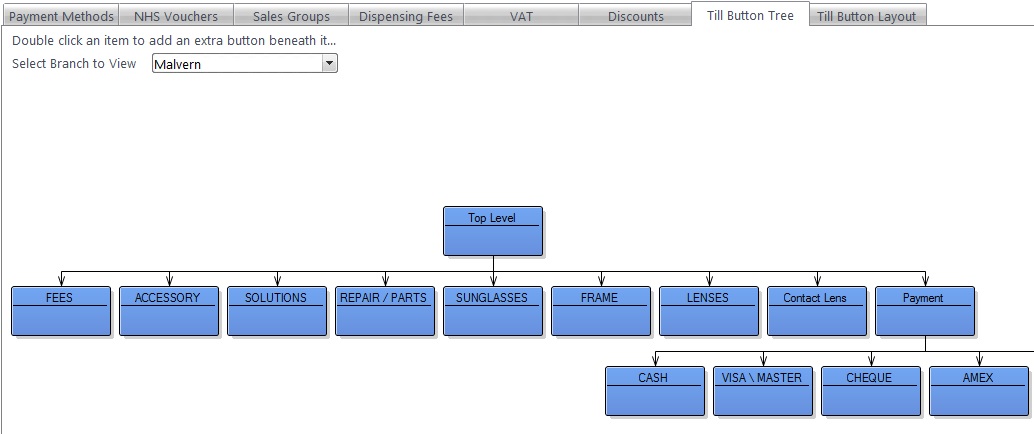
The Till Button Tree allows users to update the buttons which appear on the Till and their hierarchy. FLEX RDP users can choose the branch from the top-left drop-down. The example till tree is shown below. Whether you have multiple branches or not, you will have to select your practice from the Select Branch to View menu.
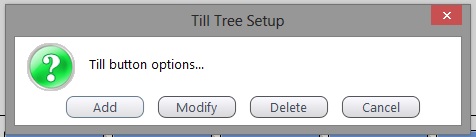
Double-click on a button to update its function. The dialogue box below comes up:
Add / Modify: See below. Delete: Asks you if you really want to delete the button. Cancel: Gets rid of the box.
Add / Modify Till Button
The process of Adding or Modifying a Till Button is broadly similar and brings up the same window:
 |
Button Description:
Change the title of the button and the background / text colours.
Tip: Do not use the same text and background colours!
Button Action (drop-down):
Tells the button what to do.
Find Item by Sales Group - activates the Find by Sales Group drop-down in the Action Options - see below.
Go to Next Level - goes to the next level down within the item.
Open Drawer - creates a button which allows a Till drawer to be opened (when connected via a Receipt Printer). Some setup is also required within PC Settings for this.
Sell Stock Item - activates the Sell this stock item drop-down in the Action Options - see below.
Take Payment - activates the Take payment using drop-down in the Action Options - see below.
Price Check - creates a button which allows a barcode to be entered and a price checked before selling. Does not activate anything in Action Options.
|
The Action Options field available will automatically appear depending on the Button Action specified above.
Take Payment Using will ask for the type of payment (Cash, Cheque, Visa etc.), including NHS Voucher, which can be set below. See also Payment Methods
Voucher Option allows and NHS voucher to be assigned, or can ask the user to select one from the list upon transaction.
Find by Sales Group (options set in Sales Groups) will bring up the Sales Group specified and items can be added to the Receipt.
Sell Stock Item allows a specific item to be sold.

 How Do I Update a Till Button?